NSI Rubber Base Instructions
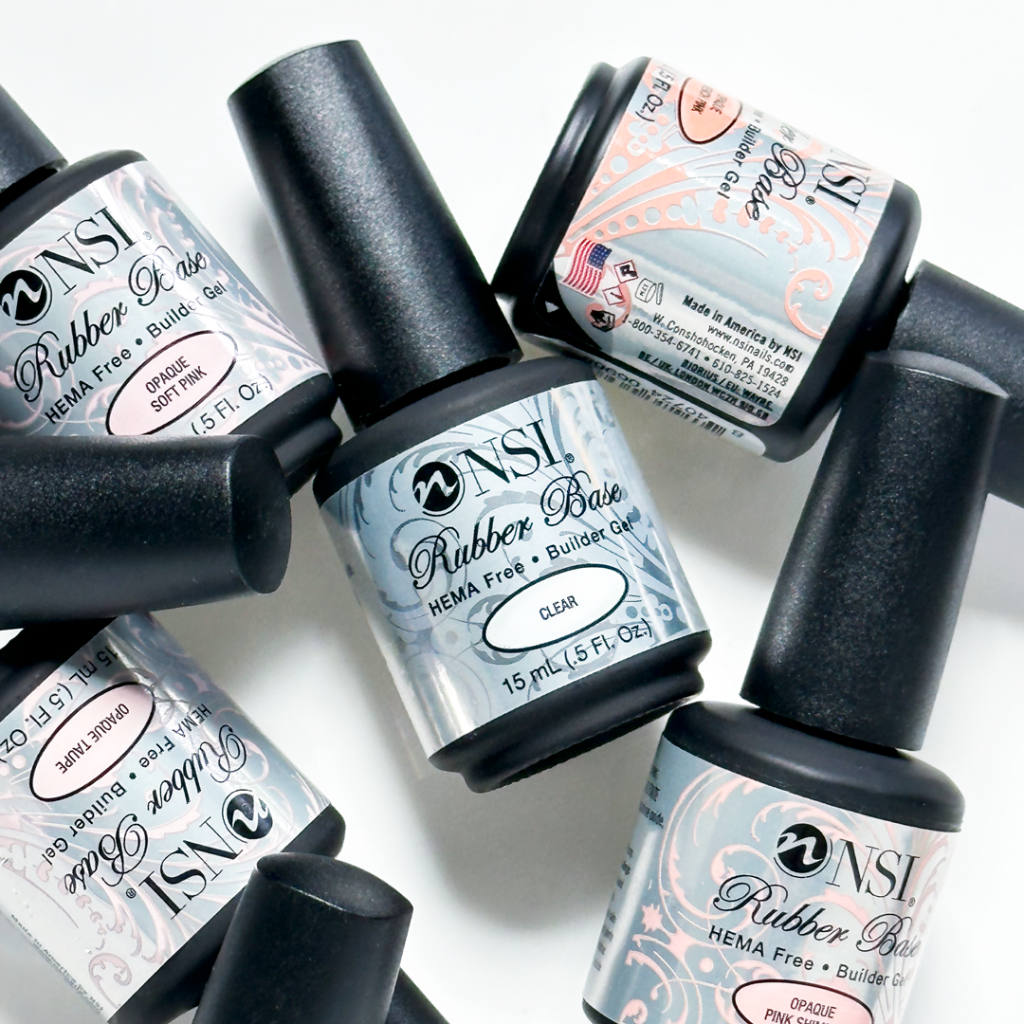
NSI Rubber Base is a foundation gel like no other. You can extend and strengthen the natural nail, with the ease of applying gel polish. Once you finish applying rubber base, you have the perfect base for your nail art creations. Paint it with Polish Pro for a polished look or use 3D embellishments to wow a client. The Possibilities Are Endless.
Natural Nail Prep
- Spray your and your client’s hands with Purify and gently massage. Push back the cuticle and gently remove the shine with your Endurance 180/180 Grit file. Using a Nail Wipe saturated with Nailpure Plus, press and rub into the natural nail.
- If extensions are desired, adhere a tip or fit a nail form at this time.
- Apply Essential Bond to the natural nail. Remove the brush from the bottle and wipe off excess product on the edge of the bottle, then brush onto two natural nails. Re-dip the brush and repeat the process until the nails are coated. Allow to dry for one minute. They will not appear chalky white.
- After proper nail prep, apply an even layer of Essential Base Coat over the natural nail. This thin layer ensures that proper bonding and adhesion will occur for the subsequent layers. Cure in LED for 30 seconds or in UV for 2 minutes.
Natural Nail Overlay
- Using the Rubber Base gel, your choice of colour, place the gel near the cuticle line, allowing room for your margin, and pull product forward towards the free edge. Be sure to cover the body of the nail with a thin even coverage. Cure in LED for 60 seconds or UV for 2 minutes.
- Do not remove the tacky dispersion layer, and apply a second thin coat of Rubberbase. Be sure to cover the body of the enhancement with a thin even coverage of the gel. Cure in LED for 60 seconds or UV for 2 minutes.
- Check the nail from all angles to ensure proper apex placement. If necessary, apply a small amount of Rubberbase to the upper arch. Cure in LED for 60 seconds or UV for 2 minutes. Use a Nail Wipe saturated with Cleanse to remove the tacky dispersion layer.
- Refine file using your Endurance 180/180 Grit File. Check for proper design and apex placement. File the nail so it is smooth, balanced and attractive following the curvature of the nail. Remove excess dust with your Plush Brush. Use a Nail Wipe saturated with Cleanse to remove any dust that may be hiding in the side walls.
- Apply Glaze ‘n Go LED or NSI Gel Top Coat and cure in LED for 60 seconds or UV for 2 minutes. Condition the cuticle and surrounding skin with Nurture Oil.
Sculpt (Tip Or Form)
- Once your tip or form is applied, place the gel near the cuticle line, allowing room for your margin, and pull product forward towards the free edge. Be sure to cover the body of the nail with a thin even coverage. Cure in LED for 60 seconds or UV for 2 minutes.
- Do not remove the tacky dispersion layer, and apply a second thin coat of Rubberbase. Be sure to cover the body of the enhancement with a thin even coverage of the gel. Cure in LED for 60 seconds or UV for 2 minutes.
- Check the nail from all angles to ensure proper apex placement. If necessary, apply a small amount of Rubberbase to the upper arch. Cure in LED for 60 seconds or UV for 2 minutes. Use a Nail Wipe saturated with Cleanse to remove the tacky dispersion layer.
- Refine file using your Endurance 180/180 Grit File. Check for proper design and apex placement. File the nail so it is smooth, balanced and attractive following the curvature of the nail. Remove excess dust with your Plush Brush. Use a Nail Wipe saturated with Cleanse to remove any dust that may be hiding in the side walls.
- Apply Glaze ‘n Go LED or NSI Gel Top Coat and cure in LED for 60 seconds or UV for 2 minutes. Condition the cuticle and surrounding skin with Nurture Oil.
To Add Color
- Now that you have your Rubber Base structure built, it’s time to add a design!
- For a Polished Look: Apply a gel polish, or the Tech-Gel Tack-Free Gel Colour.
- Just Go Nude, apply NSI Gel Top Coat for a pretty nude nail.
Removal
- Remove the shiny top coat with an Endurance 180/180 Grit File.
- Place the tips of the fingers into a bowl of Soothing Soak Off Remover. This will keep your clients’ hands hydrated and pampered during removal.
- Continue to file and soak until the product is completely removed. The product will go frilly around the edges of the enhancement. When ready it will be soft. Use an orange stick or equivalent tool to peel off the remaining product.
OR
An excellent way to remove to Rubberbase System is to saturate a Nail Wipe with Soothing Soak Off Remover and place on the nail. Then, wrap the finger in aluminum foil and allow body heat to activate the removal.